Initial configuration and creation of your crypto wallet in Trust Wallet:
After installing the Trust Wallet application on your mobile phone, click on its icon to launch it. When you first start the application, you need to do its initial configuration and to create your crypto wallet, according to the steps described below. Before approaching the steps, make sure that your mobile phone has an active internet connection.
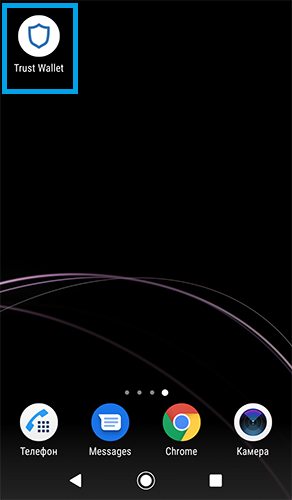
Step 1 - Start Trust Wallet:
Click the Trust Wallet icon to launch the application.
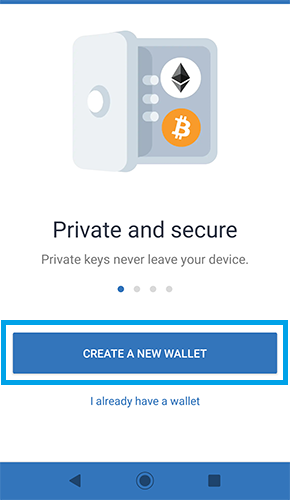
Step 2 - Click the "Create a new wallet" button:
Click the “Create a new wallet” button to create your crypto wallet.
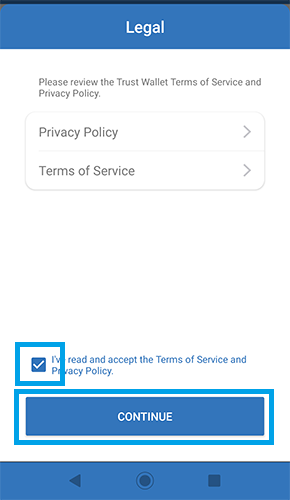
Step 3 - Accept the Terms of Use:
In order to proceed, you would need to accept the Terms of Use. Simply put a check mark at the box then click on the “Continue” button.
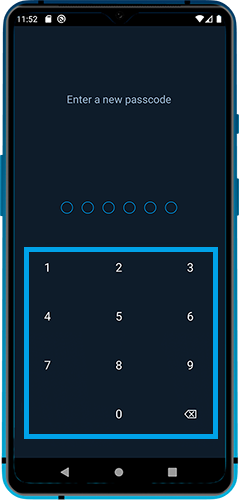
Step 4 - Set a Passcode:
When launching the application for the first time, you need to choose and enter a 6-digit passcode (6-digit of your choice). Remember to save it in a safe place (preferably on a piece of paper), as you will need it to unlock, use and make transactions with the application. Do not share it with anyone so that no one else has access to your crypto wallet.
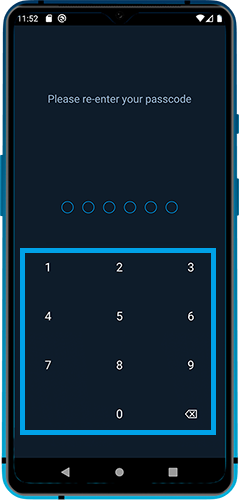
Step 5 - Confirm your Passcode:
Re-enter the passcode that you chose and that you entered in the previous step to confirm it. If you enter wrong passcode, the application will show you a “Failed to set PIN code” notification, so you will not be able to continue until you enter the correct passcode. If you underestimated the importance of the previous step and did not write down your passcode, you can go back two steps (by clicking on the corresponding button on your phone, usually from the left arrow in the lower left corner of the screen) and to continue again from there.
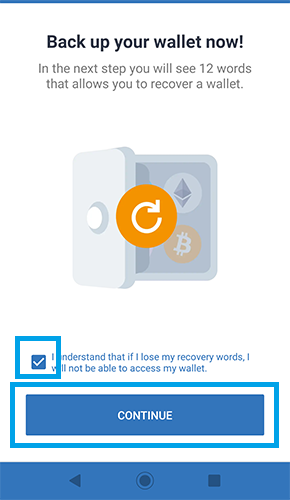
Step 6 - Confirm that you understand the importance of the recovery phrase:
To continue, you will need to confirm that you understand that if you lose/forget your recovery phrase, which will be shown to you in the next step, you lose access to your crypto wallet and, accordingly, you lose access to all crypto accounts with all assets (cryptocurrencies) to which you have access through it. Simply put a check mark at the box then click on the “Continue” button.
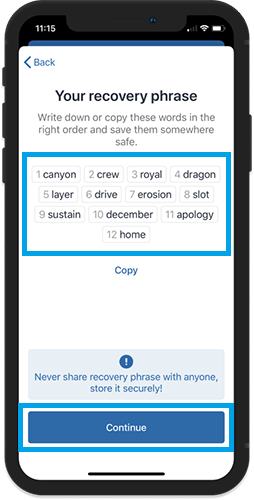
Step 7 - Write down your recovery phrase:
This is the most important part of creating of your crypto wallet. You need to write down in a safe place (preferably on a piece of paper, which to hide in a secret and safe place) your recovery phrase (secret seed phrase) that the application generates for you. Your recovery phrase, represents the words that the application shows you in this step in the order in which it shows you them. Your recovery phrase is the key to your crypto wallet. If you lose/forget it, neither ALIENO, nor EDNORO, nor Trust Wallet, nor anyone else can restore or change it, so if you forget it, you will lose permanently access to the ALIENO token and all other cryptocurrencies to which you have access through this crypto wallet.
Also, if you lose/forget your passcode that you created in one of the previous steps, your recovery phrase is the only way to regain access to your crypto wallet. But if you lose/forget your recovery phrase, there is no backup option and you will permanently lose access to your crypto wallet. For this, take a sheet of paper and a pen right now and write down your recovery phrase carefully. Hide it in a safe place and do not share it with anyone else. If someone finds out your recovery phrase, he will have full access to your crypto wallet and can drain/steal all your amount from the ALIENO token and all other cryptocurrencies to which you have access through it.
When you’re done, click the “Continue” button.
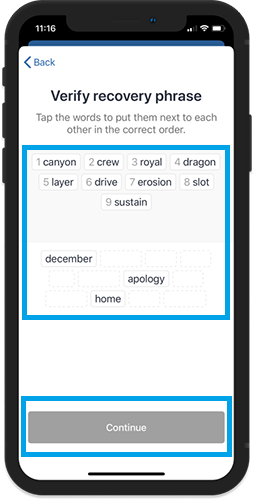
Step 8 - Confirm your recovery phrase:
If you followed the previous step and wrote down your recovery phrase, this will be easy. Select the words in the correct order to complete the verification process. Click the “Continue” button when you’re done. If you make a mistake in the order of the words, you will not be able to continue and you will have to choose them again in the correct order. To remove the words you made wrong, click on them, then select the words in the correct order. If you underestimated the importance of the previous step and did not write down your recovery phrase, you can go back one step (by clicking on the corresponding button on your phone, usually from the left arrow in the lower left corner of the screen) and to continue again from there.
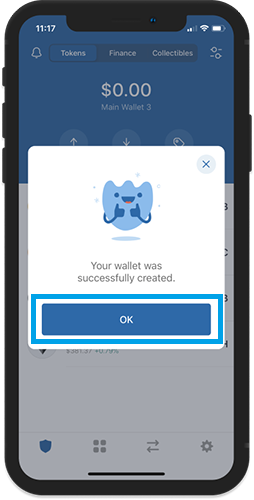
Step 9 - Your crypto wallet is created:
After successfully going through the previous steps, you will see a notification about the successful creation of your crypto wallet. Click the “OK” button to hide it.
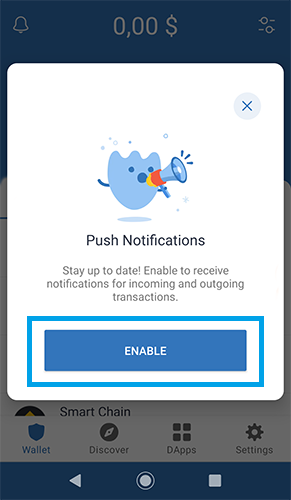
Step 10 - Enable Push Notifications:
In this step, the application prompts you to enable receiving of notifications for incoming and outgoing transactions, by clicking the “Enable” button. If you do not want to receive them, you can close the prompt window by clicking on the “X” button available in its upper right corner.
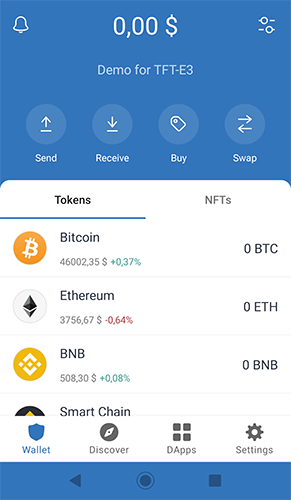
After that, you will be redirected to the main screen of your crypto wallet, which has already been created. Congratulations! In it you will see the initial list of cryptocurrencies added by default by Trust Wallet. Among them are: Bitcoin, Ethereum, BNB, Smart Chain.
How to add cryptocurrency ALIENO token is described in the next step: Add an ALIENO token to your crypto wallet in Trust Wallet
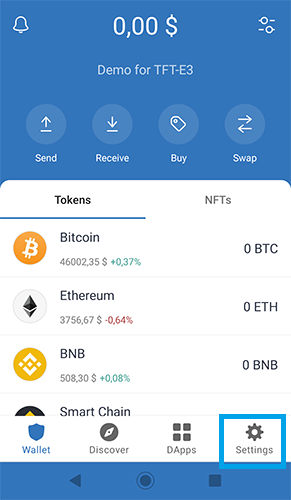
Additional information: Trust Wallet provides the ability to create up to 10 separate crypto wallets, each with a different recovery phrase. The passcode for all of them will be the same, and you can even remove or change it if necessary. You can also change the name of each of your crypto wallets to make them easier to distinguish. These and other options are available in the “Settings” menu.
These steps are also available as a video:
Video 2: Initial configuration and creation of your crypto wallet in Trust Wallet
Click on the link above to watch the video.
Go to the next step: Add an ALIENO token to your crypto wallet in Trust Wallet
Or go back to the previous step: Installing of a Trust Wallet
Or in the beginning: Introduction to Trust Wallet